Create a linux instances inAWS EC2 VIA Putty
Launch
an EC2 Machine in a Public Subnet
Create a linux instances inAWS EC2 VIA Putty
Hey guys, its been a while am writing a blog coz, My blog mail id was hacked and I struggled to get this id once more.
Lets spin up to content , well actually am with different content i.e Cloud computing in aws
Here i gonna elaborate the steps briefly to create linux instance in aws ec2
Launch an EC2 Machine in a Public Subnet
Step 1:
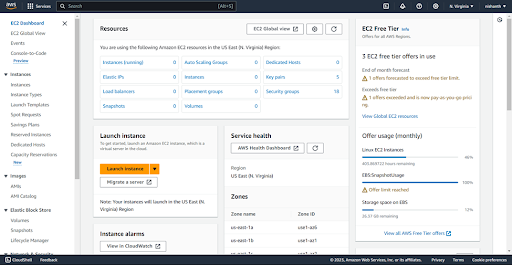
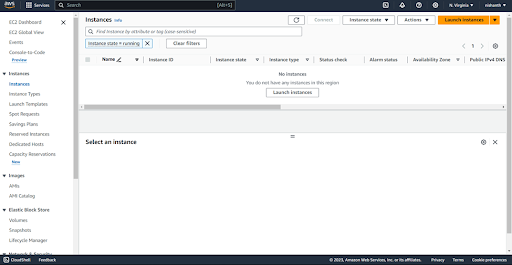
Navigate to the instances(running) option
Step 2:
Click the launch instances button which is in top corner
Step 3:
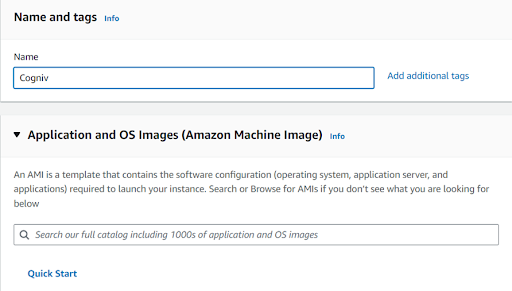
After launching the instances name the instances as
Cogniv(its our wish to keep the name for the instances),Here I have named it as
a Cogniv
Step 4:
After that choose the operating System ,its depends on
your usage and wish.Here I have choosed the ubuntu as my primary os for this
instances
Step 5:
Here the Instances type we use is t2.micro(free tire)
Step 6:
After choosing the instances Create a key pair or else
use a existing key pair .if it is exists
Name the keypair its upto you,after naming choose ppk
file(if you use puTTy )or else use pem file & create key pair
Step 7:
After creating the ppk file and save it .goto network settings and choose the
option called Allow HTTP traffic from the internet and
create a instances
Step 8:
Wait until the instances state become running
Step 9:
Click the instances ID ,You ill get options which is shown below
Step 10:
After that copy the IP address
Step 11:
Open the PuTTYà paste the ip
address you’ve copied before
Step 12:
Click
SSHà AuthàCredentials
Step 13:
Click browse button and choose the ppk file you’ve downloaded
before and click open
Step 14:
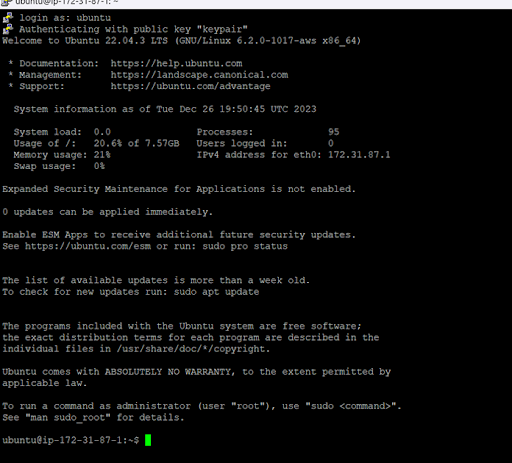
You ill get option like this ,Click accept and enter password as
ubuntu
Step 15:
Now you can able to work on ubuntu via CLI


Comments
Post a Comment